There are few things in life as fun as a backyard barbeque.
It’s not only the perfect way of reuniting with friends and family while taking advantage of a wonderful day but also an excellent reason to cook mouthwatering food you might’ve not cooked otherwise.
If you’ve ever been to a barbecue or, better yet, organized one you’re probably familiar with the BBQ staples: Burgers, Steaks and Sausages but have you ever tried barbecuing ribs?
If not, we’re here to help you!
In this guide, we’ll tell you how to cook beef ribs on the grill so you can earn the well-deserved title of a grill master.
- Read more: Pork Ribs vs Beef Ribs - Which Is Better?
Let’s get started!
More...
How To Cook Beef Ribs On The Grill
Items Needed
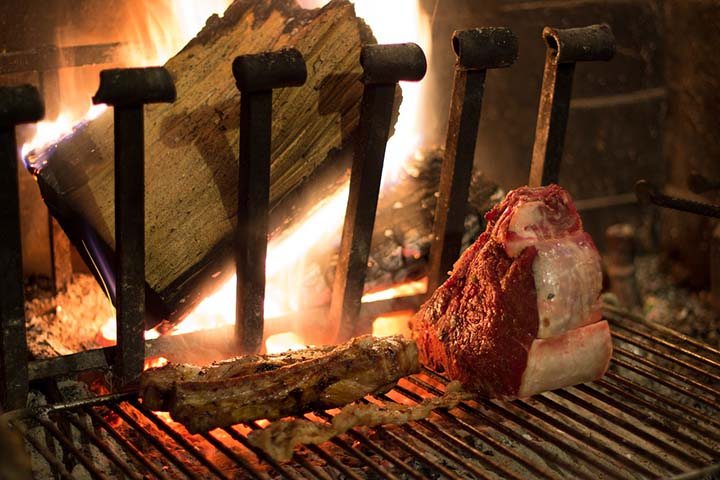
To Grill Beef Ribs you’ll need:
The first thing you need to know about beef ribs is that they’re tough. You’re going to have to tenderize them to get the best results; You can do this by dry rubbing or by brining.
Dry Rubbing
For Dry Rubbing you’ll need:
- Rib Rub
- Olive Oil
- BBQ Rub
Brining
If you brine them, you’ll need:
- Water
- Sea Salt (3/4 cups)
- Sugar (1/2 cup)
For the grilling itself, simply gather your grill basics, such as:
- Charcoal grill (read more: Best Charcoal Grill)
- Charcoal
- Hardwood chips
- Metal pan
- Charcoal starter
- Grill thermometer
- Tongs
- Foil
You’ll also need:
- Meat Cleaver or sharp knife
Now you’re ready to start cooking.
Step by Step
Step One: Tenderize
As we mentioned before, you’ll need to tenderize your ribs before doing anything with that. This can be achieved through two methods: Rubbing or Brining.
- Related article: Best manual meat grinder
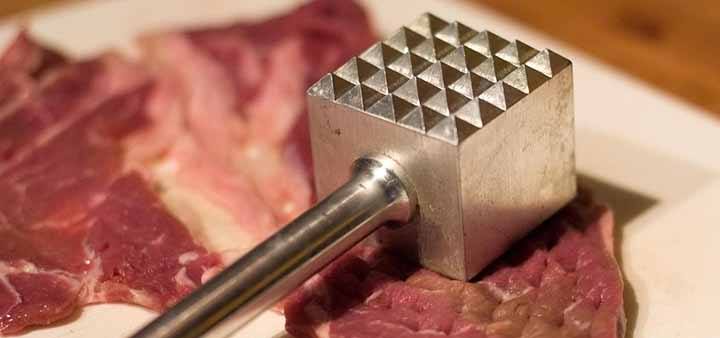
- Rubbing
· Coat the meat end of your ribs with olive oil.
· Rub the rib rub on the meat, ‘massaging’ it to tenderize it.
· Refrigerate for at least 6 hours. Take them out one hour before grilling.
- Brining
This is the best way of tenderizing your ribs if you’re planning on grilling them fast.
· Mix 1 gallon of water, ¾ cups of sea salt and ½ cup of sugar in a deep enough container.
· Submerge your ribs completely.
· Refrigerate for at least 6 hours. Take them out one hour before grilling.
Note: There’s a good chance your ribs will have a membrane when bought. Do not remove this, as it will help keep your ribs moist through the cooking process.
- Related article: Best ways to reheat ribs
Step Two: Preparations
If you plan on using the “Low and Slow” method for grilling your ribs, you should prepare your grill for indirect heat. This is how you do it:
- Place half your coal on one side of the grill and half on the other, leaving enough space to insert a metal pan.
- Cover the metal pan in foil and place between charcoals.
- Place cooking grate.
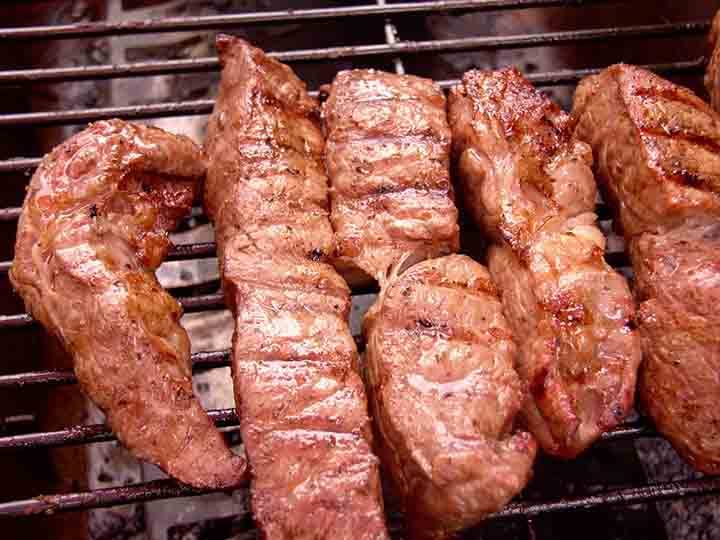
Regardless of the method you’re planning on using; you should do the following:
· Start your grill 30 minutes before grilling.
· Section your rib rack in half or in portions using your meat cleaver or knife.
Step Three: Grilling
There are two ways you can do this, the Low and Slow method and the Fast method. They both have their advantages and disadvantages, but we’ll cover the two of them regardless.
- Grilling the Low and Slow Way
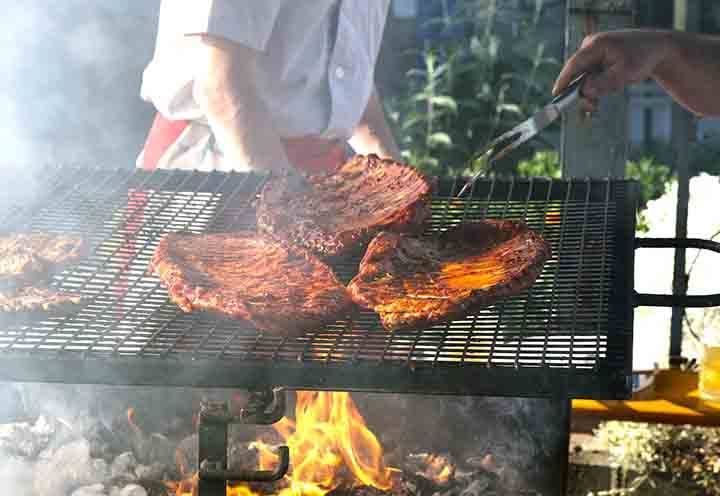
This method isn't called 'slow' for anything. You’ll take anything between 3 to 5 hours just to get your ribs, but chances are, they’ll be the best ribs you’ve ever had.
This is what you need to do:
1. Coat your ribs with barbeque rub and cover with olive oil.
2. Place ribs directly over the heat for 2 to 3 minutes per side to seal the flavor.
3. Move ribs to indirect heat and turn them bone down.
4. Add wood chips and cover. Avoid going overboard with the wood chips, as this can ruin the beef flavor. A good rule of thumb is to use enough chips to create light smoke. If there’s thick smoke coming out you’re using too many chips.
5. Grill undisturbed, for an hour. You can still check to make sure everything is going well.
6. Bast: Once the first hour has finished, start basting your ribs every 30 minutes or so. Replenish fire and add more wood chips if necessary. Use basting or mopping sauce for this.
A popular method is to fill the pan you placed in your grill with liquid, such as apple juice or beer and placed your ribs on top. This will collect the drippings from your ribs and release moisture, which will keep your ribs from drying.
7. Turn the Ribs meat side down halfway through the first hour.
8. Grill for 3 to 5 hours or until ready. Ribs should be we ready when tender when pierced with a fork.
9. Add BBQ Sauce during the last fifteen minutes of the grill. You can do this by turning the ribs around and gently brush the sauce on the meat side of the ribs.
The wait was long, but we promise you, the results are worth it!
- Grilling the Fast Way
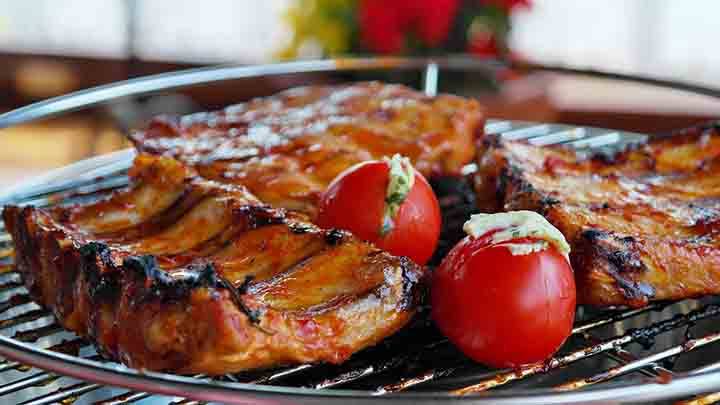
If you don’t have the time to use the Low and the Slow method you can still enjoy delicious ribs. Bear in mind, however, that by using this method you risk drying up your ribs so you should only do this if you really don’t have the time to go Low and Slow.
1. Coat your ribs with barbeque rub and cover with olive oil.
2. Place ribs directly over the heat for 2 to 3 minutes per side to seal the flavor.
3. Move ribs to indirect heat and turn them bone down.
4. Add wood chips and cover. Avoid going overboard with the wood chips, as this can ruin the beef flavor. A good rule of thumb is to use enough chips to create light smoke. If there’s thick smoke coming out you’re using too many chips.
5. Place Ribs bone side down and allow them to cook for around 45 minutes.
6. Move Ribs to Direct Heat and turn them meat side down.
7. Bast / Mop every 15 minutes. Do this to both sides as you turn the ribs to ensure through cooking.
8. Check Temperature. Your ribs should be ready when they reach an internal temperature of 155 degrees. Check by sticking your meat thermometer into the thickest part of the ribs.
9. Coat with BBQ Sauce. During the last 10 minutes of the grill.
You can also wrap your ribs in foil to make the process faster. Doing this, however, will keep the smoky flavor from penetrating the meat so you want to punch a couple of holes in the foil after wrapping your ribs.
And that’s all you need to know how to cook beef ribs on the grill!
See below video for more instructions:
What do you think? Did you enjoy this tutorial? Is there something we can do to improve it? Do you know a better way of grilling beef ribs? If so, leave a comment. We’d love to hear from you.
We hope you found this tutorial fun and instructive, and we wish you the best results next time you grill.
If you enjoyed this tutorial don’t forget to share.
Happy grilling!


Leave a Reply